captura怎么选择区域录制?captura选择区域录制教程
很多小伙伴在使用captura的时候,想知道怎么选择区域录制,下面小编就为大家分享captura选择区域录制教程,感兴趣的小伙伴不要错过哦!
captura怎么选择区域录制?captura选择区域录制教程
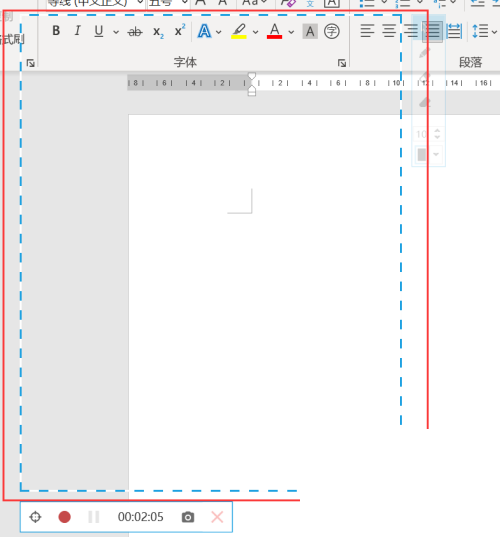
1、首先电脑上下载并安装captura录屏软件,点击打开,单击工具栏上如图所示的方框。

2、然后屏幕中间弹出一个虚线方框。
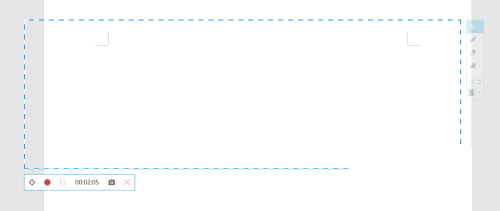
3、最后移动鼠标到虚线方框上,点击拉动边框的大小,或是在右下角输入框里输入录制范围的尺寸,调整完成后,录制即可。
希望此教程能帮到大家!更多教程请关注下载之家!
tags: